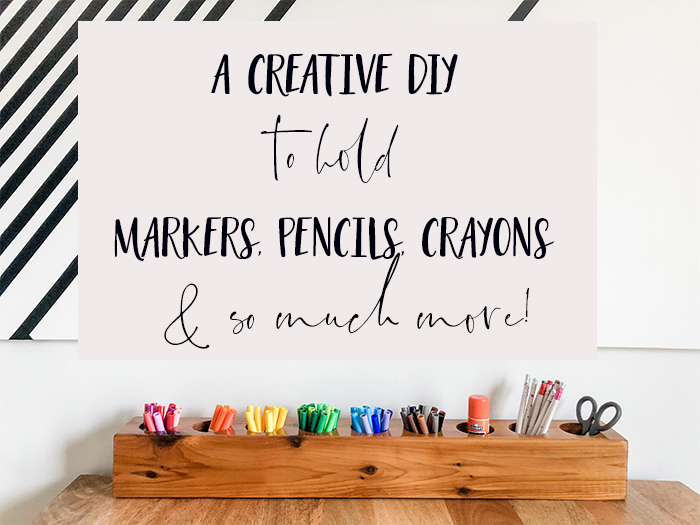
A Cheap and Easy Mid-Century Modern Pencil Holder we made from leftover wood
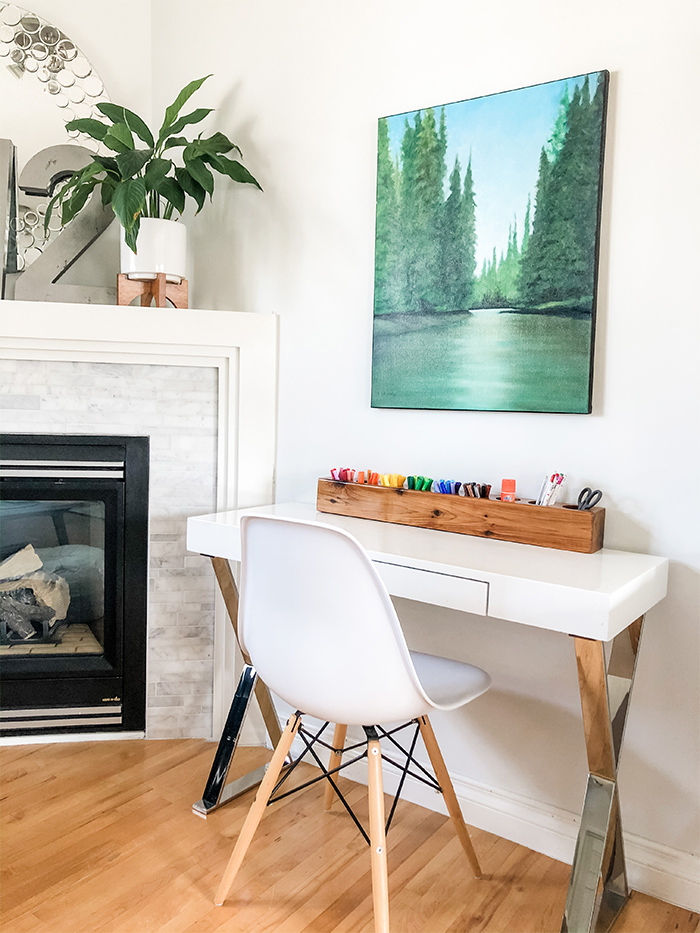
With everyone working from home these days, I find myself looking for attractive ways to store all of the kids craft supplies. Pencils and markers have to remain accessible for homeschool and Eva tells me “inspiration could strike at any moment”. 🙂 Seriously, her exact words!!
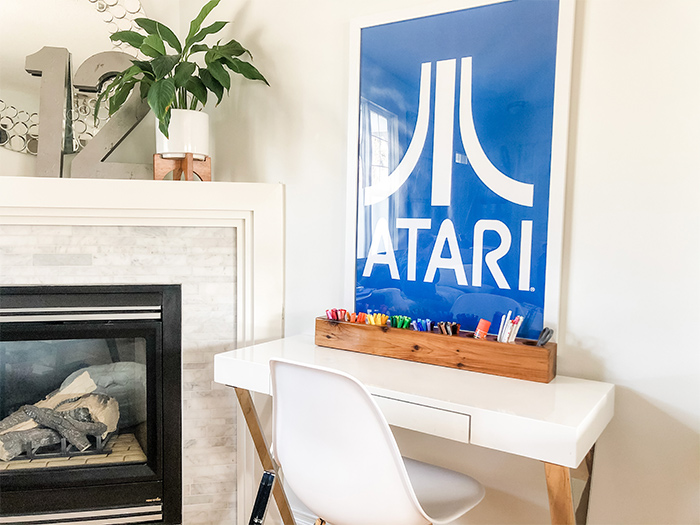
Our house is tiny and the main floor is open concept. Homeschool doesn’t officially end until later this month so everything is still readily available on the main floor (and it’s also visible from every direction!). Just because we have craft supplies front and centre, doesn’t mean they can’t be housed in a pretty container, right?
I wanted to create an attractive pencil holder using leftover materials kicking around the house.
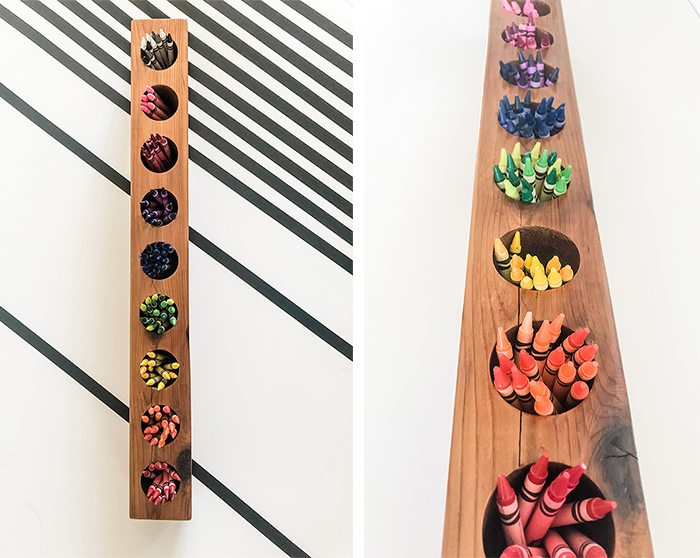
Inspiration struck when I found a beautiful piece of cedar sitting in the garage (begging to be used). We cut it to size, drilled holes, sanded and added a protective coating to turn the simple piece of wood into a stunning container perfectly sized to hold school supplies.
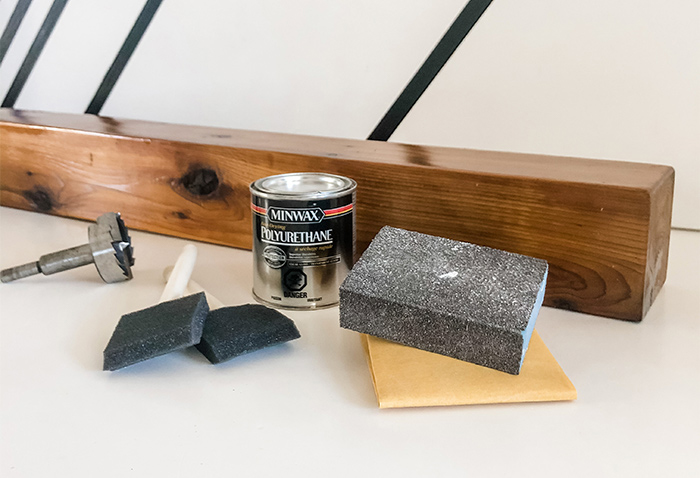
Materials to create your own simple stunning marker holder:
- Wood – Western Canadian Cedar 4×4
- Drill press – We used a 2″ Forstner bit (if you don’t have a drill press, try a corded drill with the Forstner bit – keep in mind, a drill may take longer to cut each hole)
- Mitre Saw – to cut the wood to size
- Sand paper – used to smooth the edges and ends (220 grit)
- Protective Coating – we used Minwax Polyurethane Fast-Drying
- Foam brush (used to apply stain)
- Painters Pyramid Stands – (optional) used to elevate the wood while adding our protective coating
Instructions:
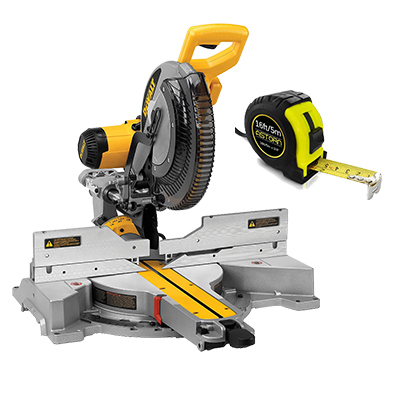
Cut wood to size – we used a mitre saw and cut 6″ longer than needed to ensure it was even after making the holes. Our finished product is 28″
(The piece of wood I selected has lots of imperfections, knots, and cracks which I think add to it’s beauty)
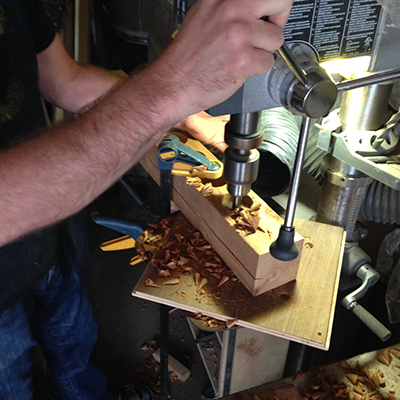
Pencil where you want the holes – we used a 2″ drill bit and left 1″ gaps between each hole, for a total of 9 holes
Cut the holes – Once you’ve drilled the final hole, use a mitre saw to cut the other end to size
This part took Brad under an hour!

Sand – Sand until the edges are smooth (we recommend softening the corners otherwise the edges can be prone to damage)
Wipe clean – using a vacuum with soft bristle brush (or a cheese cloth), wipe away all of the sawdust.
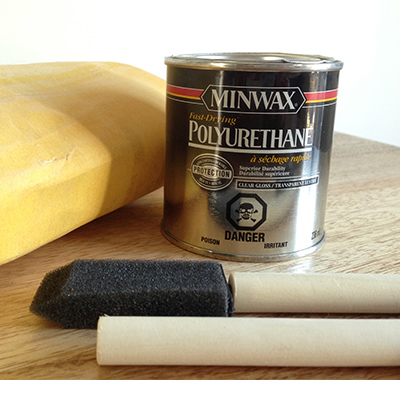
Add 2-3 Protective Coats – We added 3 coats of polyurethane, lightly sanding between each coat (Note: the longer you wait between coats, the better)
* The little Painters Pyramid stands help to keep the piece elevated
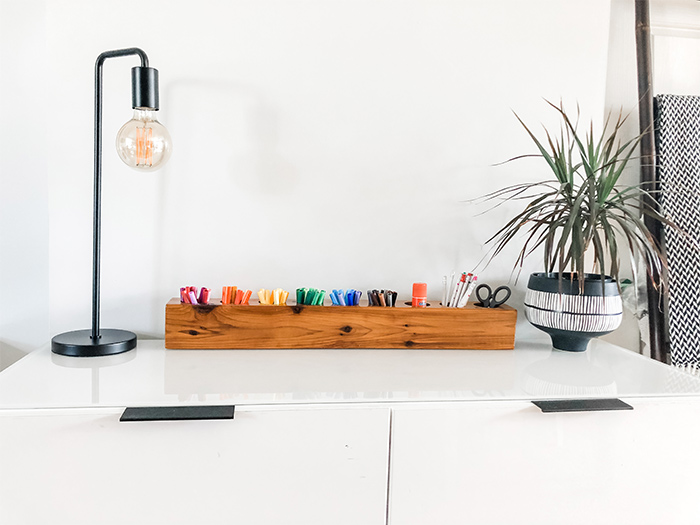
I’m so happy with the finished product! I can’t help but think of all of the ways we can use it. First and foremost, we are using the wood container to hold craft supplies like markers, pencils and crayons, BUT I’m also looking forward to experimenting in other spaces throughout the house.